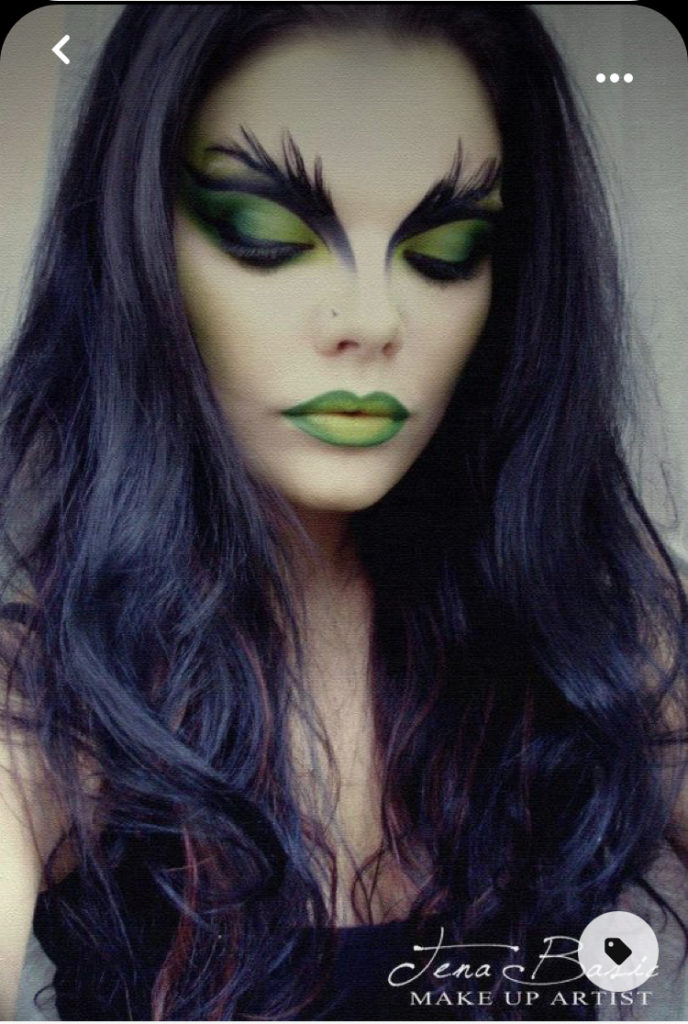
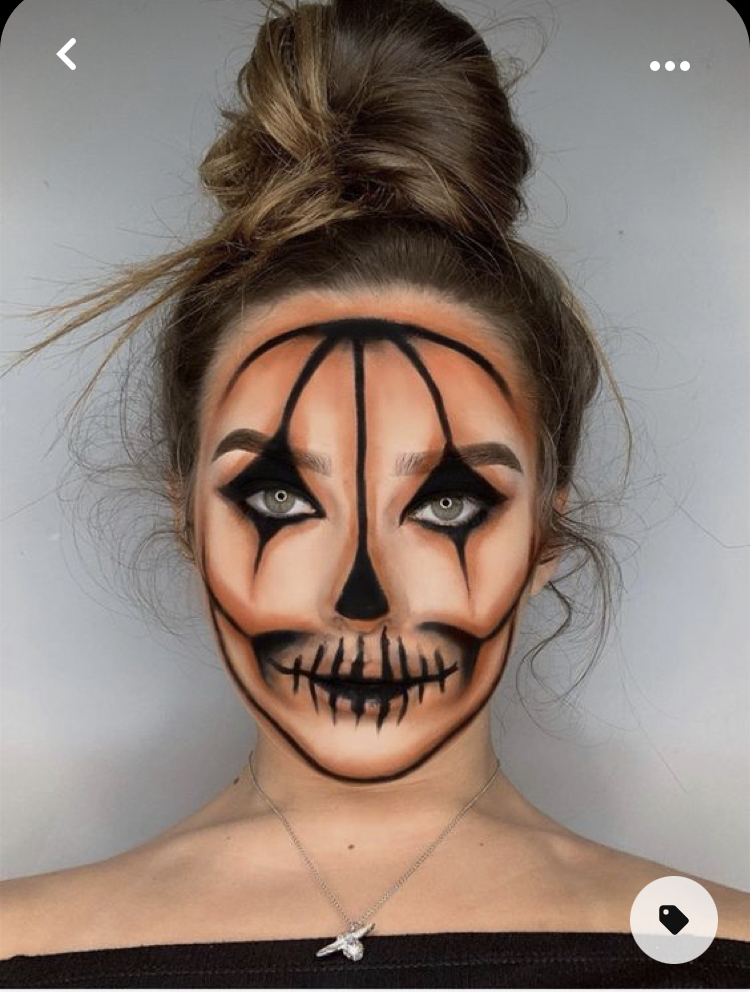
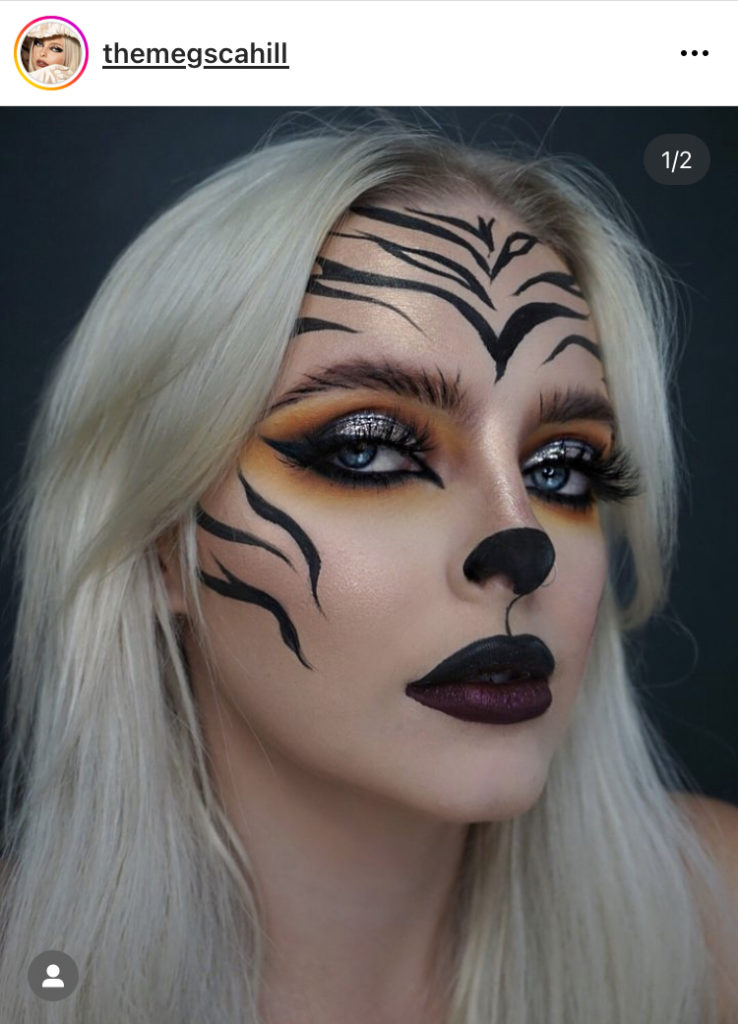
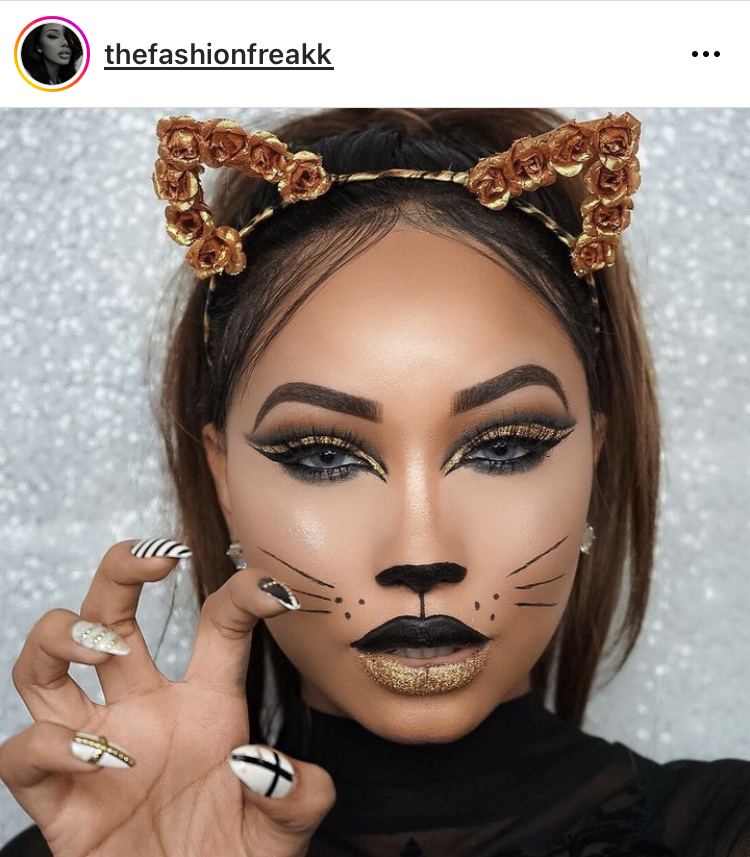
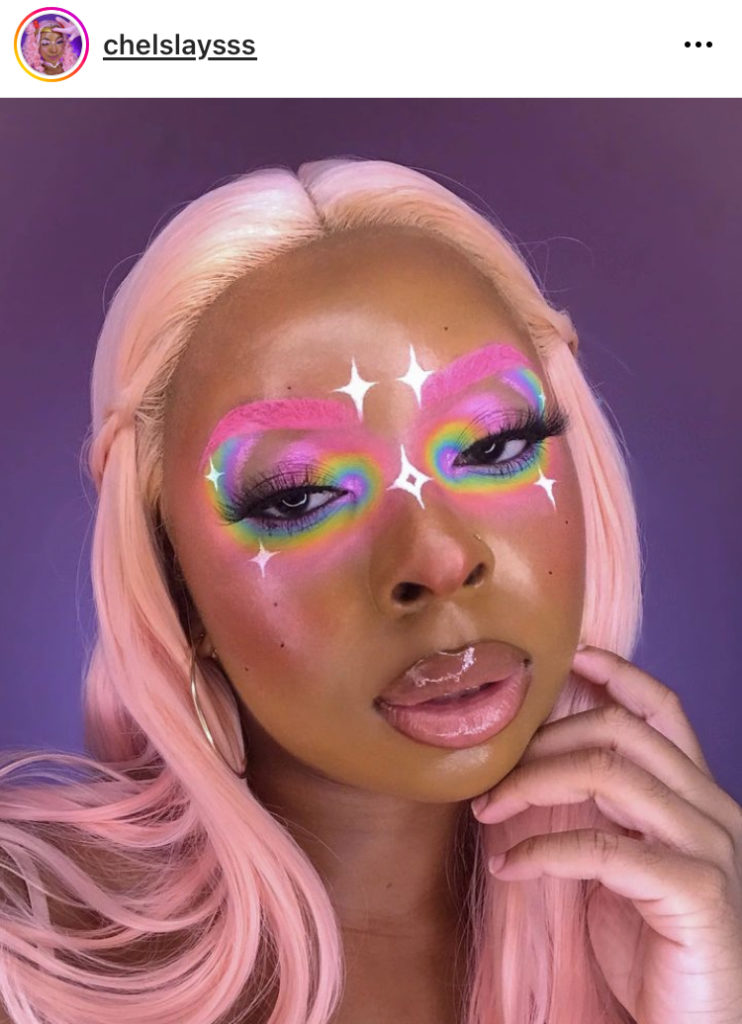
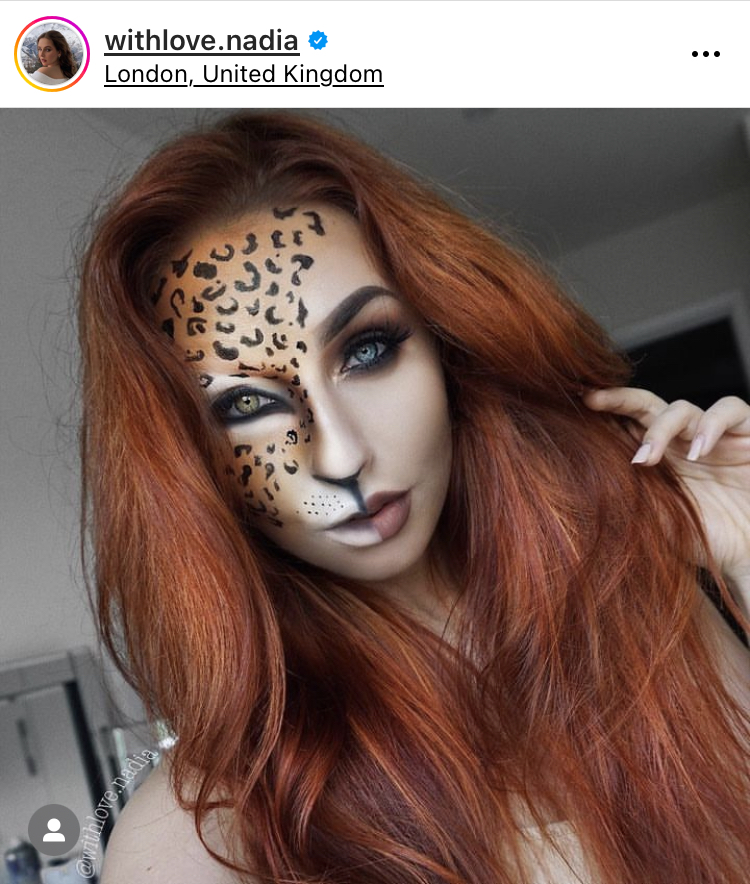
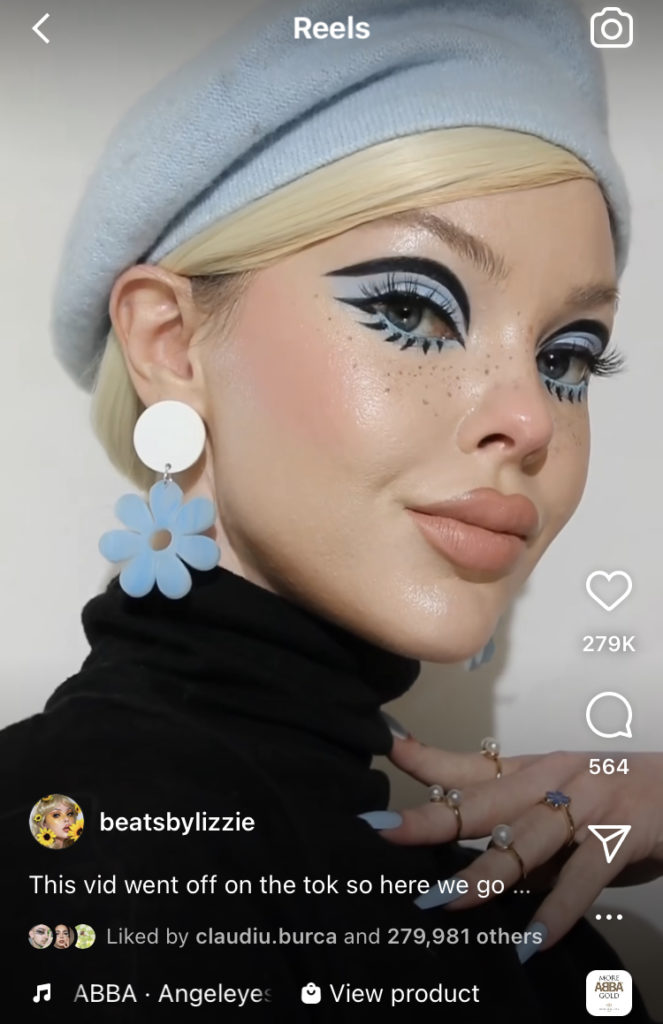
To embrace Halloween to the fullest this year, I decided to do 10 days of Halloween makeup. I underestimated how much time and effort this project was going to take. In this post, I am going to show you a preview of all of the inspiration images I used.
Setting up the Project
First, I selected the looks and ordered them. I wanted to have a combination of scary, animal, and beautiful while also diversifying difficulty and colors. After I felt my selections covered all of my criteria, I scheduled the dates of each photoshoot. I should have started this process way sooner. My goal was to finish shooting everything before I started posting, but I did not leave myself enough time.
Doing the Makeup
Thirdly, I spent hours completing the makeup to the best of my ability. Some of the looks have video tutorials which made them way easier to copy. For the rest, I had to interpret the image and try to match shapes, colors, and imagine what order the original makeup artist completed each step in. There were some serious learnings from each video. I hope my progress shines through.
Trying to recreate a makeup look is tough on its own. On top of it, I was trying to teach other people like me, so they wouldn’t make the same mistakes I did. I added in the difficult step of recording myself. Once you do another step, you can’t go back and recreate the video of the step prior. It added a lot of pressure.
Photoshoot Time
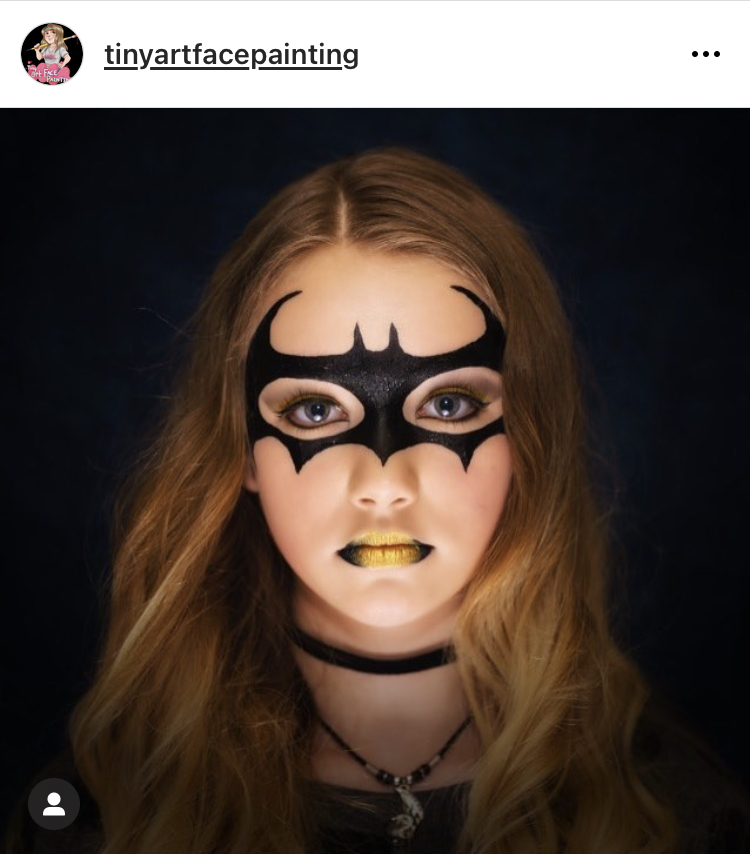
Next, I tried to take pictures with my tripod, but something was usually off. I would fix my hair, change my outfit, or try to find better lighting. I took a ton of photos so there would be options to choose from. For these photos, the challenge was more about the makeup than poses and outfits. I tried to make sure my hair and outfit did not take away from the makeup, but I did not focus on it as much as usual. The star of this show was the makeup.
Taking My Makeup Off
Once there was an acceptable photo, I took off my makeup. Taking off these crazy makeup looks was a process on its own. I started with a makeup wipe to try to remove as much as I could. Then, I washed my face with a creamy or moisturizing cleanser. For this step I made sure to dry my face on a paper towel because there was almost always still makeup. Finally, I would use micellar water to remove any remaining makeup.
For some of the looks, it was heartbreaking to have nowhere to wear them. I spent hours on them just to take them off. I do not know how content creators do it. Spending hours on something to wear for 20 minutes and then removing it was just sad. I think next year I will do something similar, but either start earlier or do less looks.
Editing the Photos
Most of the time, after my face was clean, I took my place on the couch to start selecting my favorite pictures. I favorited a few and only edited those. I used the Apple Photos app for all of my editing Since I take most of my pictures in one spot, the editing that looks favorable on one usually translates across the entire photoshoot. While editing these photos, I created a guide for myself. I completely edited one look and then copied those settings across my other favorite looks. I wish there was a way to save your settings in Photos. It would save me so much time.
Editing the Video
After I selected my favorite image, I uploaded all of my video clips to the Splice app. While I was videoing, I did not delete the outtakes. I had to trim each clip so the transition worked seamlessly. Also, there were several times where I would edit a clip only to find out it was a blooper. I decided to end each video with my favorite image and the inspiration photo. To make a more seamless look on my Instagram page, I needed a coherent design.
Designing in Canva
I love Canva. At some point, I will definitely be upgrading to the PRO version. When I started, I knew I wanted to include a dark purple. I think it is an underrated Halloween color and also ties into my Elaina Pearls color palette. I couldn’t find a template that I liked that used purple, so I started with a black template. Then, I added in a bunch of graphics and played around with scale, color, and transparency. Finally, I added in the final texts. Once the design was finalized, I duplicated it to create 1 image for each look.
Why are Tik Toks and Reels the same, but different?
Let me tell you how annoyed I was to find out that Tik Toks and Reels (both ways to post videos on social media) have different time limits. I should have looked this fact up before I started, but I also should’ve been paying attention to how long my videos were becoming. While making the videos, I was just filming and talking. There was no script or timing in mind. For those wondering, Reels can only be 1:30 while Tik Toks can be up to 3 minutes. Now that I created all my videos, I had to duplicate them to create a shorter Reel version. An added step that was annoying and unnecessary.
Uniformed Captions & We’re Done
Finally, I made it to the final step: creating captions and hashtags. To make everything uniform, I worked on this step in my planning Google Sheets under each inspiration image. I wanted to keep my captions clean and concise. Then, I looked up some key halloween hashtags and added them to my usual collection. By doing it in Google Sheets, I was able to create one caption and then copy them over to the other looks. Now, I have my captions for my Reels, Instagram Posts, and Tik Toks ready to go.
Oh You Thought You Were Done?
I could not post these inspiration images without trying to do thorough research to find the makeup artists. The reason I chose to copy these looks is because I found them inspiring. Obviously, the artists deserved credit. Unfortunately, I found these looks on Pinterest and most of them were not posted by the original creator. Finding the instagrams for the artists took some time. Then, I tried to scroll through their whole feed, so I could tag the exact look I mirrored. What I found is that I chose a lot of looks from 2016 which required a ton of scrolling. Again, an added step I had not foreseen.
Lessons Learned
- Find your inspirational looks by going through the Instagram feed of makeup artists you follow to save time.
- Start early.
- Plan out hair and an outfit to complete the look.
- Don’t take pictures at night and expect good lighting.
- Try to find YouTube tutorials of similar looks to help decide the order of steps.
Challenge
Share your learning process with others. Even if you are not an expert, you can still help someone who is starting their journey.